Measure Up to Level Up Your Kitchen
Measuring Existing Doors, Drawers, Panels and Plinths
Welcome to the Kitchen Door Works replacement kitchen doors measuring guide.... The easiest and best way to measure your replacement kitchen doors is to simply measure the doors and panels you already have!
Measurement is easy, safe and quick to do. You will need a few things, a good (easy to read) tape measure, some post-it notes (your choice of colour!) and a pencil. That is it!
Read on for some tips on how to get the best results in the easiest possible way.
-

High Gloss Style
Shop Piano Moderno -

Shaker Style
Shop Linea Classica -

Hybrid Shaker Style
Shop Modulo Nuova -

Economy Style
Shop Piano Basica


Grab Your Gear - Let's Measure Up!

Step 1 - Take Photos
We always recommend you take lots of photos before you start taking your current kitchen apart.
So not only do you get to see the magnitude and impressive value of replacing your kitchen doors with KitchenDoorWorks but you also get a great guide if you need to put it back together again!
With these photos, if you do get stuck or have any doubts about what you need, our friendly team can help. Just get in touch.
Step 2 - Label Everything
We suggest that you use a post-it note or a piece of masking tape to put a label on every door, drawer, panel and plinth you want to replace.
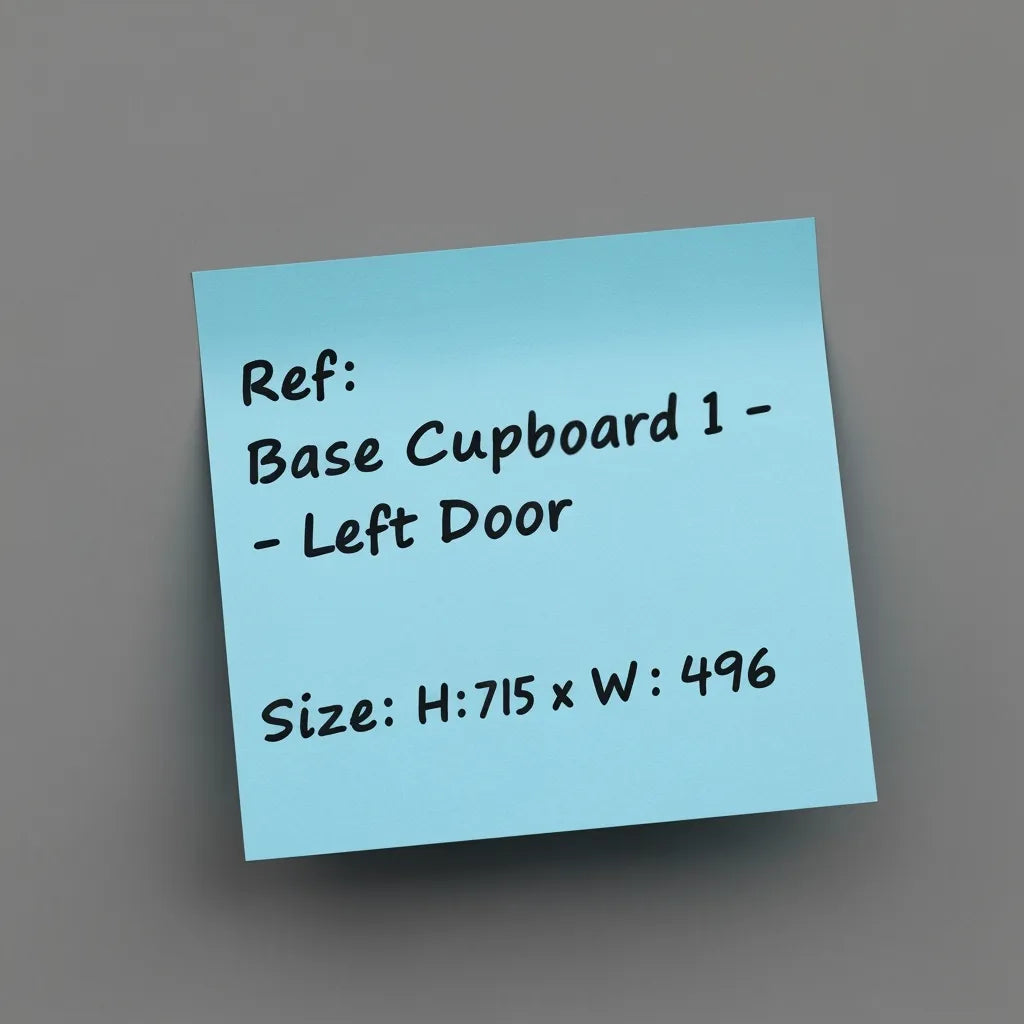
We recommend that you give each door a reference, a unique number and record its size.
For example:
- Reference: Base cupboard one - left door
- Height: 715mm
- Width: 496mm
Don't forget to also label up the cupboard as well, with the same name.
Get creative and use different colours for the doors, drawers, panels and plinths!
Step 3 - Determine the Type
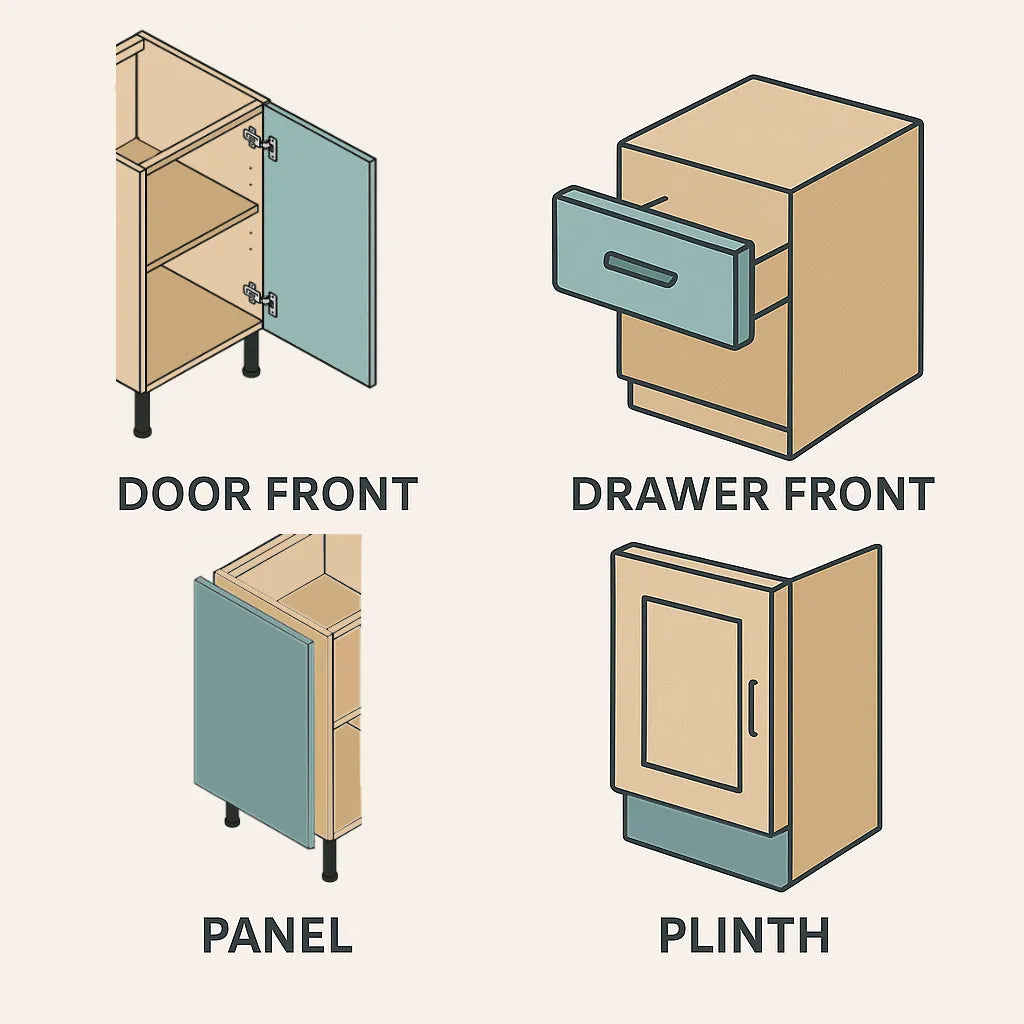
Kitchens are only made up of a few "types" of products, we call these:
- Door Fronts - these open with hinges, or fix to integrated appliances
- Drawer Fronts - these fix to drawer units and slide in and out
- Panels - the most complicated type!
- Plinths - the decorative cover strip underneath your base or floor cupboards
Step 4 - Panels, what Panels?
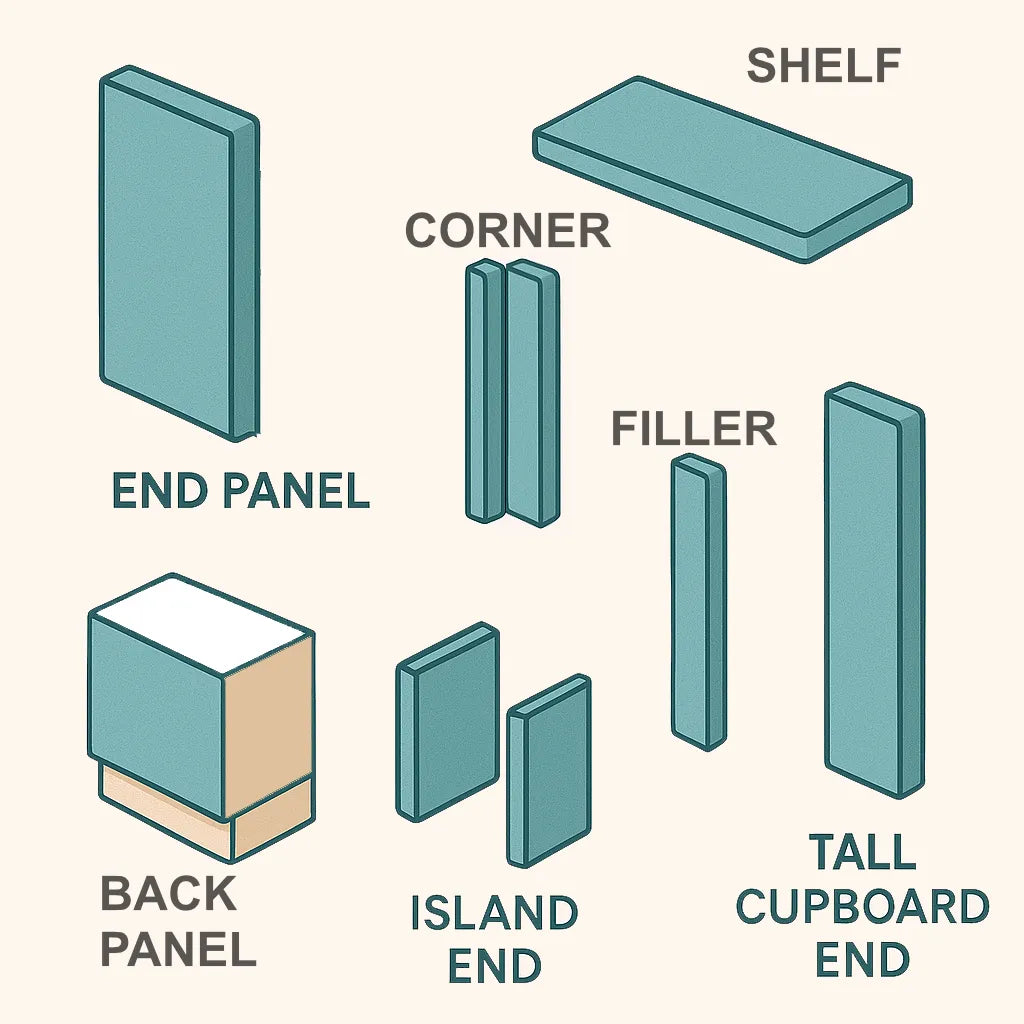
Panels are the general name used for anything that adds a matching finish to your cabinets or kitchen design. All panels are actually the same thing, but we have a standard list of panel uses to help you with selection and sizing.
If you want something different, find the closest match and enter your own size. Remember, we don't charge extra for made to measure options!
Learn more about the different cupboard types here to help you identify the right panels for your new kitchen.
Step 4 - Plinths
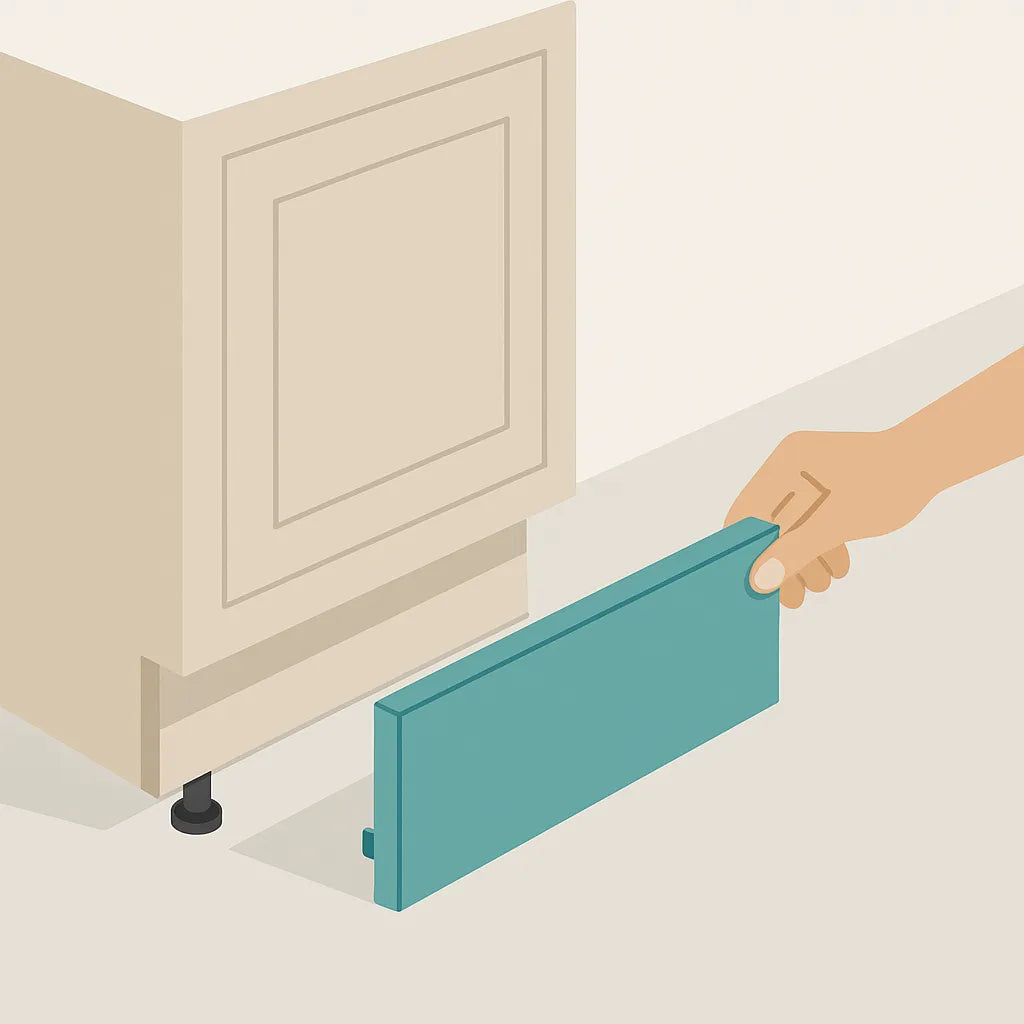
Plinths are simply the decorative board that runs along the floor underneath the base cupboards. Usually set back from the front edge a little for effect and it clips on to the cupboard legs.
This makes removal easy by just pulling the plinth towards you at one end and moving along as the clips separate.
Plinths are nearly always 150mm high, but sometimes less if the floor has perhaps been tiled or a wooden floor laid down that continues underneath the base cupboards.
Our plinths, unlike others, come in multiple heights and lengths (plus made to measure for any size you need) to make replacement and fitting a breeze.
Most plinths are slightly less tall (5mm) than the floor to base cupboard gap, to allow for any variation in the floor. This gap is pretty much invisible due to the set back style and your viewing angle.
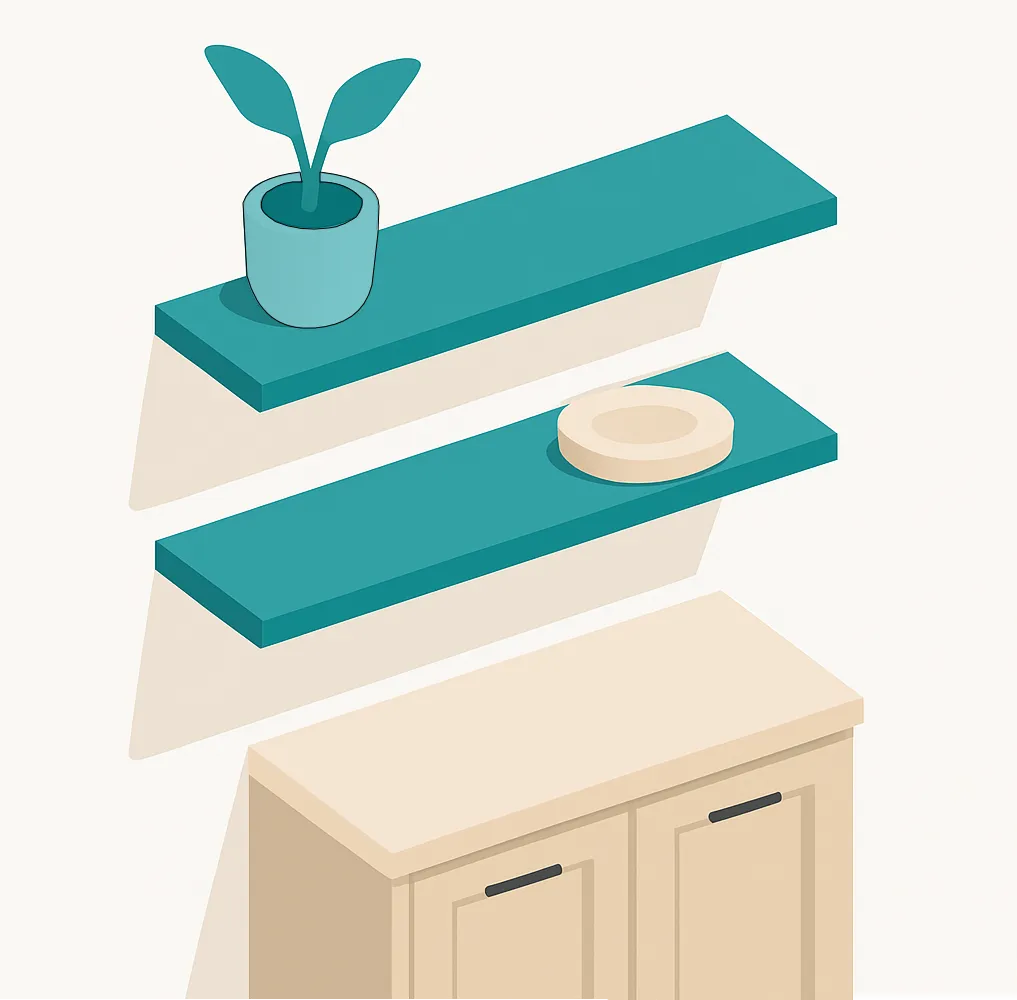
Step 5 - Adding New Details
You are not limited to replacing your kitchen like for like with KitchenDoorWorks ...
We also supply wall shelves, that with floating fixings can really elevate the look of your new kitchen and add new storage and display options as well.
Shelves are part of our Panels product type and available in lots of sizes or the exact size you want, with no extra charge.
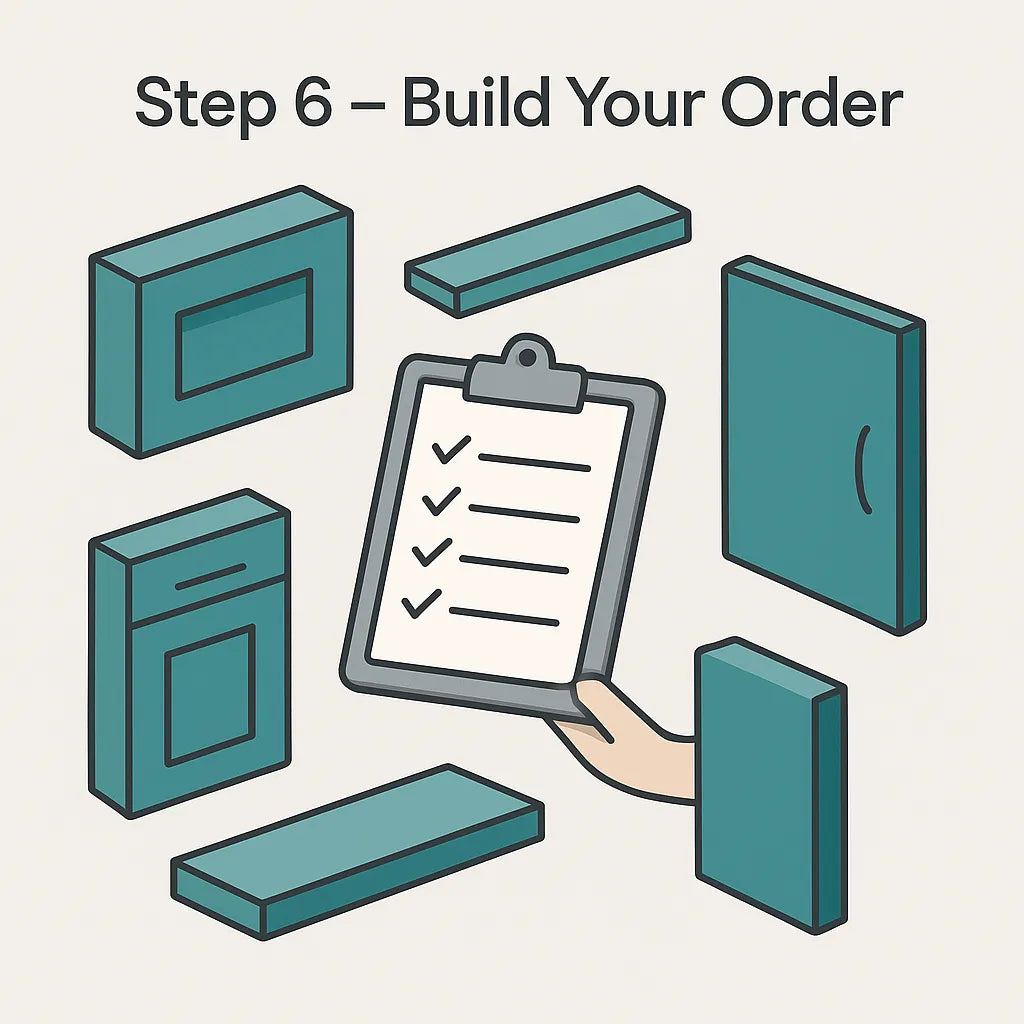
Step 6 - Build Your Order
Now you have identified all the elements you want to replace, upgrade or add it is time to start filling your shopping cart ...
Remember Step 1 where everything was given a short and friendly reference, well now you can add this to each product you need before you add it to your cart, so when your order is delivered, each item will be labelled up to match your own names... making identification of all the parts a breeze!
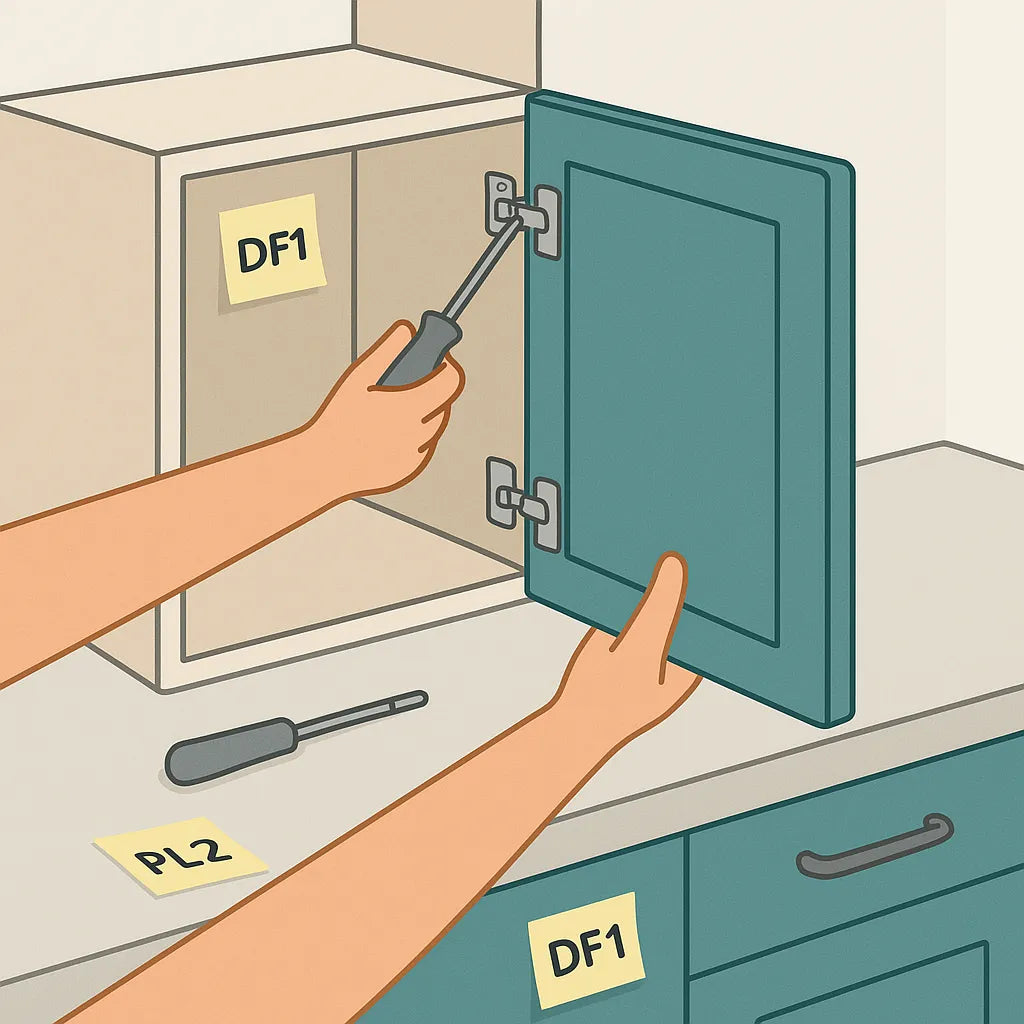
Step 7 - Fitting Your New Kitchen
Replacing your kitchen cupboard doors and cabinet drawers is really simple, but we recommend you approach it in a logical order. Your post-it labels will become even more helpful in this step!
We recommend you first replace your wall cupboard doors and panels, working in a logical order from one end. Take your time and work in sections.
Always remove all the doors and panels from the cupboard you are working on before fitting your amazing new doors and panels, to avoid any mishaps damaging your new parts.
Match the your new products using the references you assigned to each, and see your kitchen swiftly transform into something new, stylish and seriously impressive!
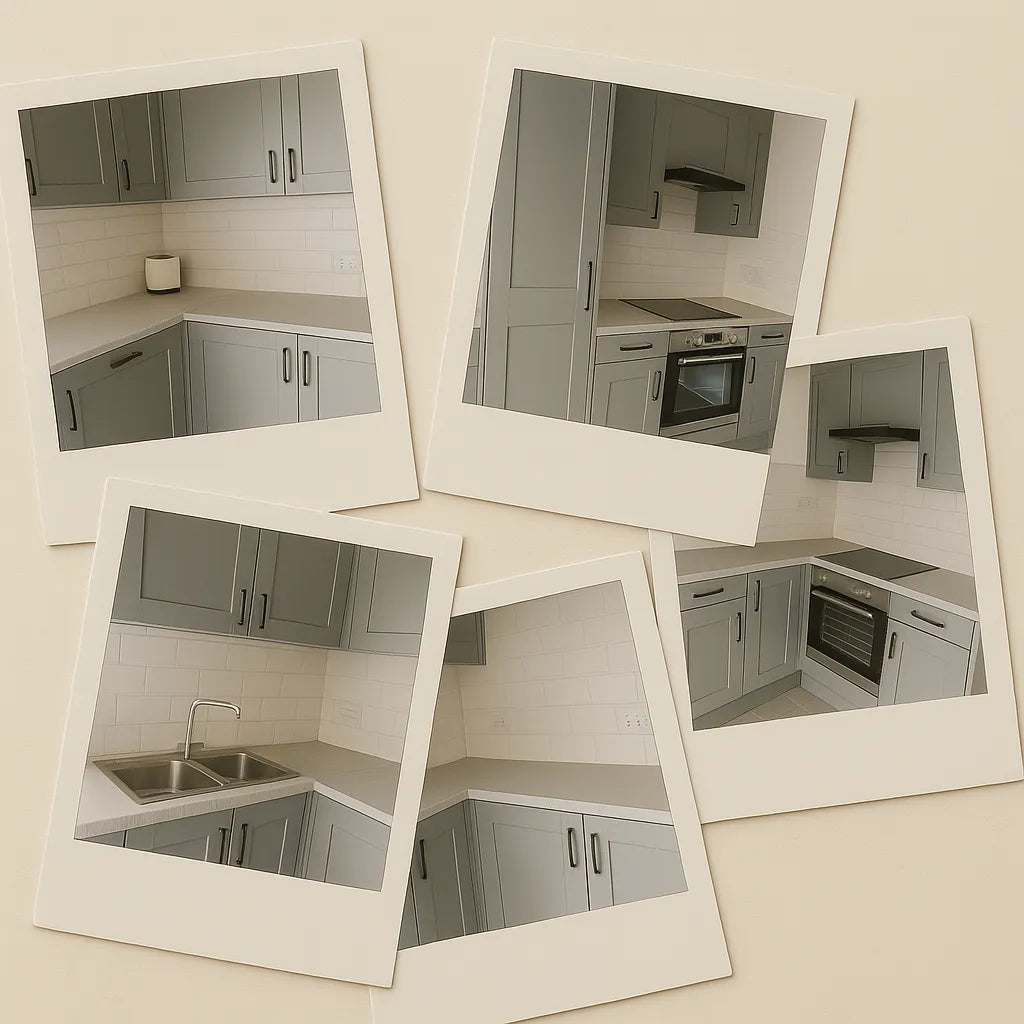
Step 8 - Photo Finish
When your new kitchen is refreshed, upgraded and ready to show off, take some photos. We would love to see the before and after pictures of your kitchen.
Love Your New Kitchen Door Works Kitchen
Love Your New Kitchen
Revel in the new look, fresh design and feel awesome about how little it cost and what an amazing result you have achieved. Well done you!
-
High Gloss Style
Shop Piano Moderno -
Shaker Style
Shop Linea Classica -
Hybrid Shaker Style
Shop Modulo Nuova -
Economy Style
Shop Piano Basica